Blog

Anaya's 3rd Birthday Party

Here are some photos from Anaya's 3rd birthday party. 

The birthday family!

It was a lovely day, the sun was shining and there was lots of cake.  

Photographing children can be challenging but generally things are a lot easier at parties.  Children at parties are excited, hyper, happy and smiling.  There are times when the high turns into a low but these are usually short lived.  Unfortunately, the lows usually happen at key moments and usually because a child is ordered to smile or look at the camera.

I wrote a post a previously with a few tips about how to take great photos of children.

Asking a child to make a funny face always produces a great photograph!

Children have the innate ability to amuse each other!

You simply cannot beat birthday cake!


How to Take That 'Great' Photo...

 "Don't just TAKE a picture.... MAKE a picture" - Scott Bourne, Photographer

How did you take such a great photo of [insert child’s name or scene here]??  It's a question I often get asked.

These days, taking a photograph does not cost us anything.  Previously there was film, which had to be bought and then developed, both at a cost.  Thankfully, with digital, there is no cost to taking a photograph and so we all just press away without a second thought and then dump everything onto our Facebook and G+ page.  

In the good old days of film, you had to think about each shot before you pressed the shutter button. Whereas today, most of us do not take the time to think about 'capturing a moment' before pressing the shutter.  Sometimes taking a moment to pause allows us to take look around and take everything in.  I find that some of the best photos come around when you actually take your eye away from the camera and view the scene, looking for 'the moment'.

Capture the moment-1.jpg

Here’s something that confuses me every time I see it.  When at a concert, why does everyone take out their mobile phone and start recording video??  I bet most of the videos taken this way are poor quality with even worse audio.  Surely we should be there to enjoy the performance and atmosphere rather than watch the concert through our 5 inch mobile phone screen??


Likewise, often it’s best to put down the camera and look around for that decisive moment.  This is especially true when photographing children who often change character when they notice a camera pointed at them.  

So next time, try to look around for interesting scenes rather than shoot everything that around you.

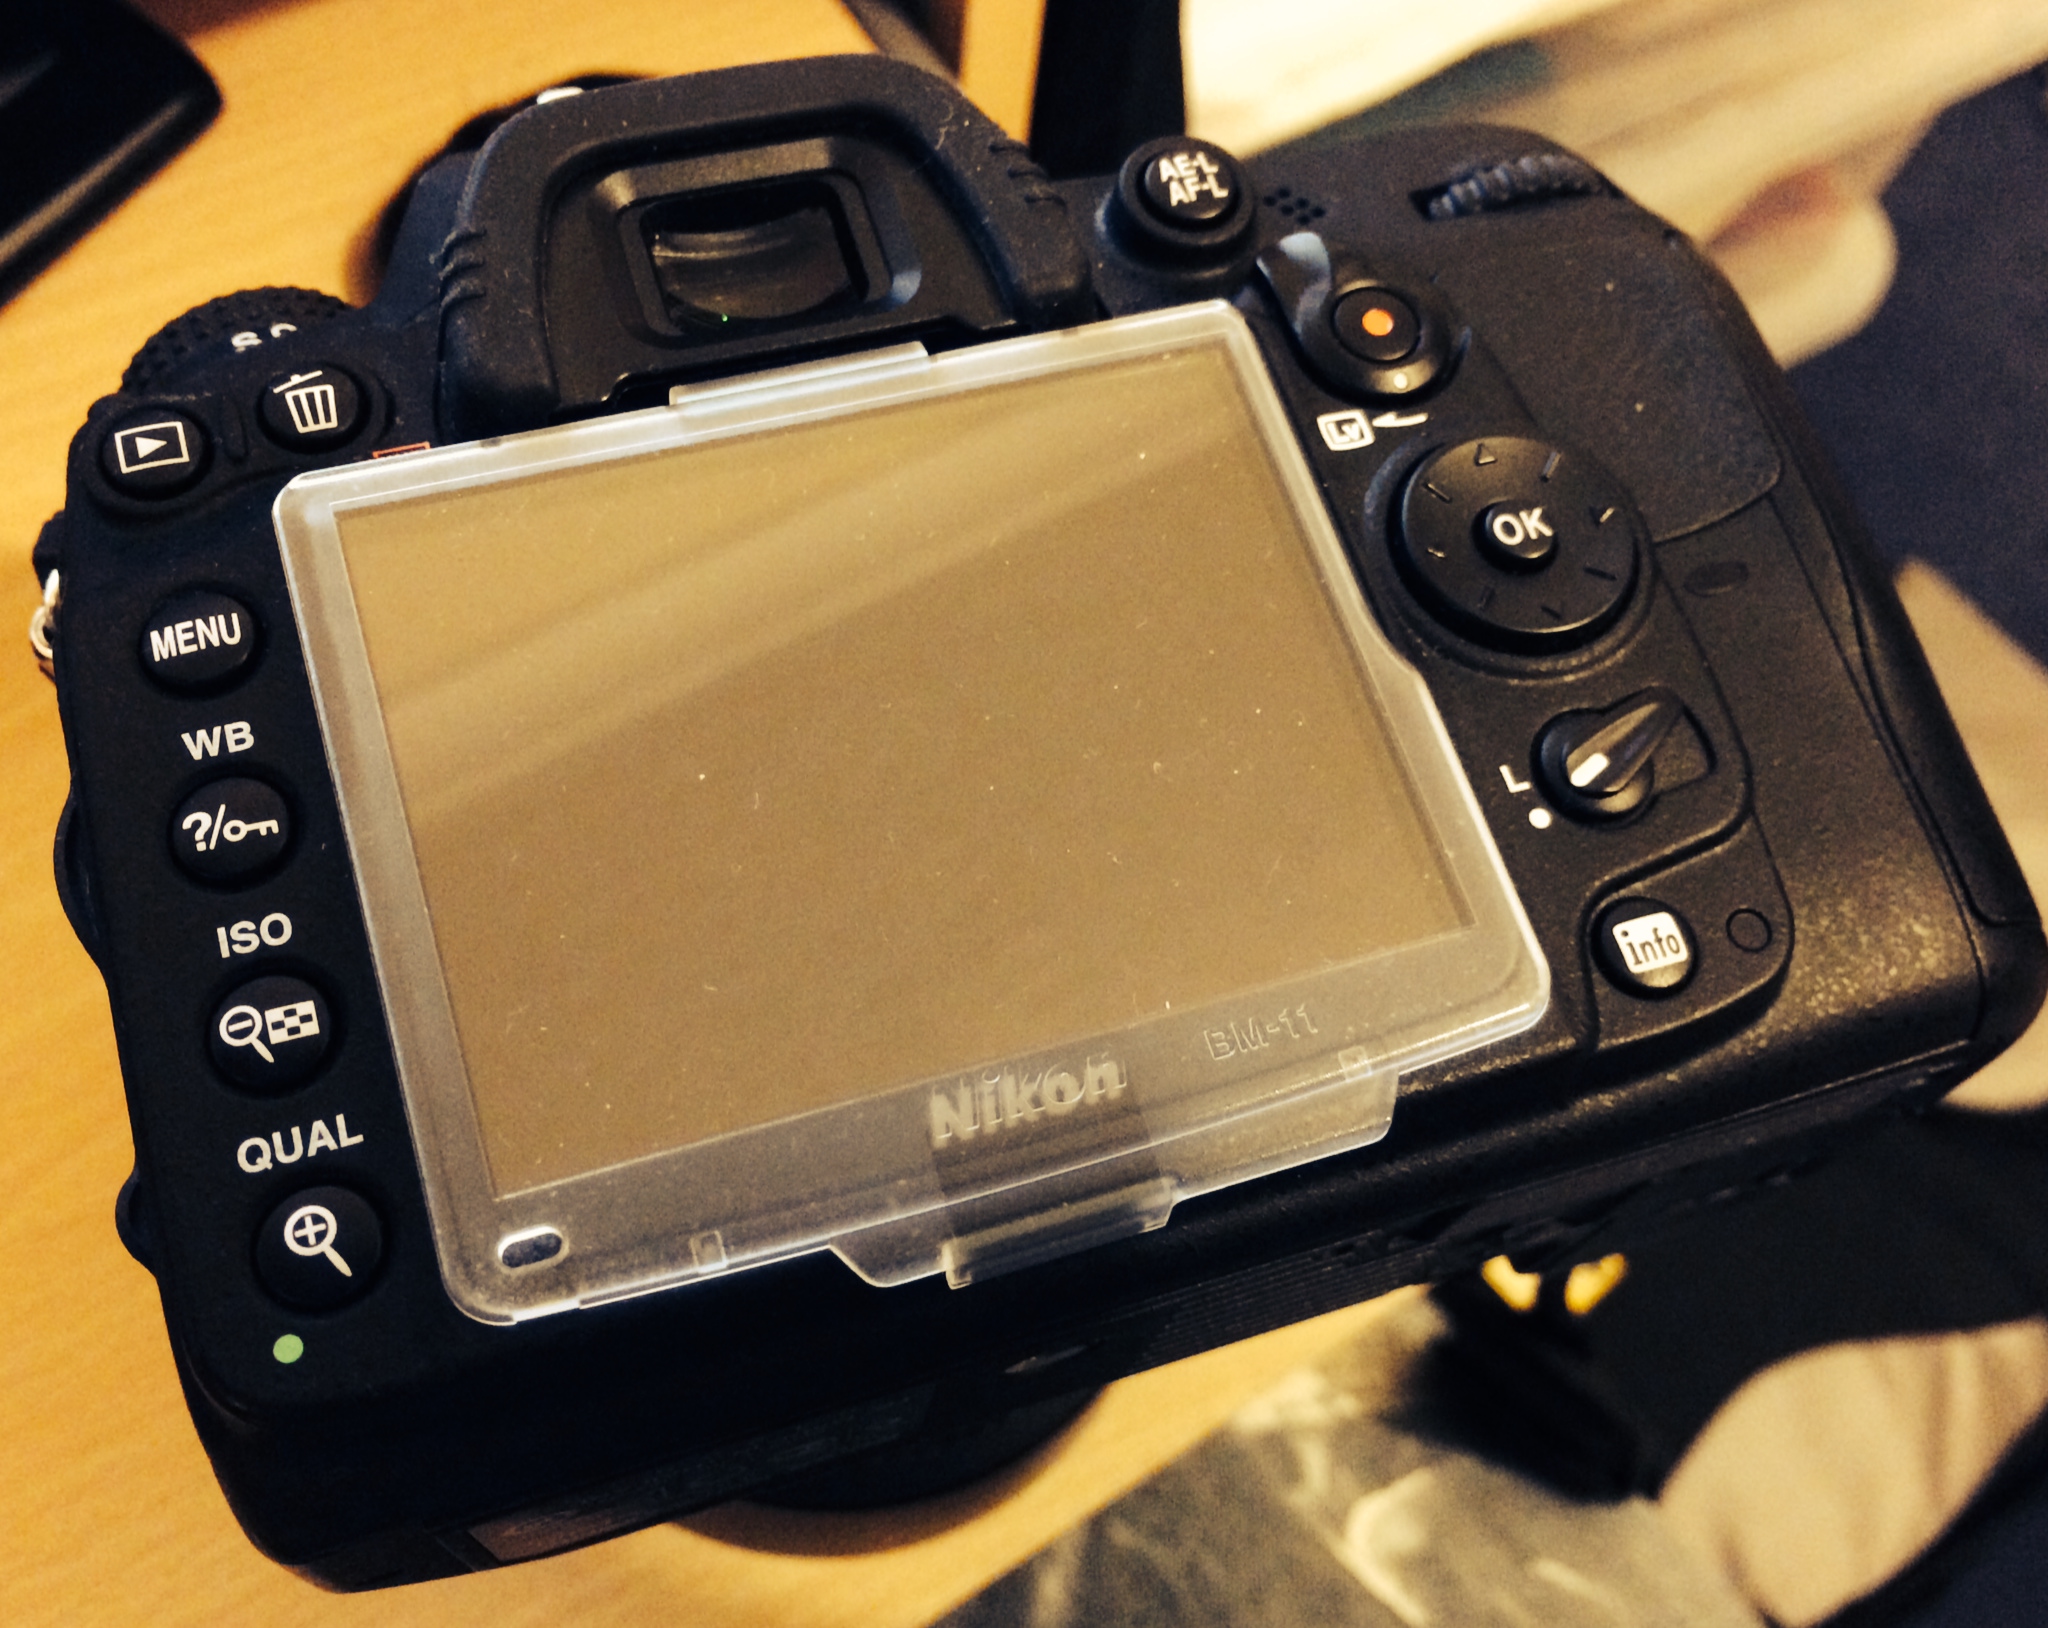
What do all the Buttons on my Camera do??? Part 1 - What does the ISO Button do?

These days, so many people own a DSLR camera.  I get to attend a lot of weddings and the number of people with DSLR cameras grows all the time.  Often people will come up to me and are not sure what all the buttons and dials on their camera do.  Most people have their camera set to Automatic, which means that the camera does everything for you.  Automatic is a great setting if you need to take a shot that is happening at an instant and you do not have time to change your settings.

There are many features on cameras but there are three main settings that everyone should know about.  They are Aperture, Shutter Speed and ISO.  They determine exposure and form the foundation of every photograph we take.  

what-do-all-the-buttons-on-my-camera-do.JPG

Aperture:  This is how large the hole/opening of the lens is.  The larger the hole, the more light can get inside and hit the sensor.

Shutter speed:  Determines how long the lens is open for.  The longer shutter speed, the longer the lens is open for and the more light can get inside.  

ISO:  This adjusts how sensitive the camera sensor is to light.  The more sensitive it is, the less light is needed in order to capture a decent exposure.

Today, we will look at ISO.  The ISO setting sounds complicated but it is probably the easiest setting to understand.  Quite simply, it makes your camera more or less sensitive to light.  Almost every camera, whether they are DSLRs or compact cameras, allow you to adjust the ISO.

Example:  You are at a party and the room is dark.  You click the shutter and see that the photo is dark or it’s bright but is blurry.

Why is it blurry?


This photo was shot at ISO 640 but is blurry.

The shutter had to stay open for longer so that more light could get in producing a well lit photo.  If you are holding the camera by hand and/or your subject is moving, then the image will be blurry.

Why is it dark?

Simple...... there wasn't enough light!  Depending on what setting your camera is on, the resulting photo may be sharp but be very dark.

One way around this is to use your flash but this will not usually be an option if your subject is far away.  The pop up flash on most cameras are poor at best but even so, you can only use them if your subject is close to you.

What should I do then?

If you can't use a flash, then you should increase your ISO setting.  Most cameras have the normal ISO set to 100 or 200.  Try increasing it to 400, 640, 800, 1000 etc.  This will make the sensor more sensitive to light and mean that the shutter is open for a shorter duration.  You will then get better brighter photos, which are not blurry.

This photo was shot at ISO 3200.  It is much sharper.


So why don’t I just whack up my ISO and leave it there?

Good question!  High ISO produces noise and a grainy picture, which most of us don't want.  Of course, if I had a choice between a blurry photo or one that was sharp but grainy, I would choose the latter every time!

So next time you are in a low light situation, check your ISO setting and increase it as necessary.

Take a look at Part 2 - What do all the Buttons on my Camera do??? Part 2 - A is for Apple.... Rubbish! It's for Aperture!